Sylvanas' Warcraft (Heroes of the Storm) bow
One could ask "why Heroes of the Storm?", to which I will always reply, "because of the bow". I have always played Horde and my race of choice was the forsaken. Therefore Sylvanas had always been my favourite leader. And now she's the warchief! However, despite all the skin and model changes her character has gone through, I never really liked her bows. Until Heroes of the Storm... I loved that bow so much, throughout the whole process of crafting it, I would run around the flat, at random times, parading my unfinished weapon! As for the actual crafting, I enjoyed every bit of it. Even to this day, I pick it up and run around the house with it.
Now, at the very early stages I had some difficulty finding good reference pictures for the patterns. But then good guy Blizzard released PDF files with detailed pictures of HotS characters and their weapons! So there I had a very clear picture of the bow

I started with the spine of the weapon, which was a combination of plastic tubes, from an old carnival spear and some household items. Despite the support inside the tubes and the large amount of hot glue, I added paper tape to keep it even more stable. Then I cut out 4 layers of EVA foam (10 mm) from the pattern. The 1st layer was the bottom of the bow. The 2nd and 3rd were glued together and then cut in the middle to accommodate the spine. Then the 4th layer sat on top of the rest. Everything was glued together with contact adhesive. And half the bow was done! I needed to do this once more for the other half.

Once both parts were done and connected together, the fun began! Sanding, shaping and detailing the bow with the rotary tool! It's really fun because you can slowly see the progress and it starts to take the shape you had in mind. It's coming together!!

Time for the (hand) shield! Again, thanks to Blizzard and their amazing reference pictures, designing and cutting it out was so quick and easy! Cut the foam, carved it, then added the thermoplastic and shaped it.

The bow and shield, covered in thermoplastic, primed and sanded. All that's left is painting it, (making and) adding the gem, varnishing it and adding the string.

So how does one find a gem that fits the desired slot perfectly? Well, one makes the gem!
I made the gem shapes out of polymer clay, cooked it, sanded it until it was smooth and cast it. I had a couple of recipes for homemade silicone moulds which I already tried once (for Sylvanas' shoulder details - skulls and whatnot) and it worked perfectly. Then the resin was mixed, coloured and poured into the moulds. And then we played the waiting game! 12 hours to dry, 24 hours to cure. Some glossy varnish to make it look pretty and it's done.
Then it had to be glued onto the shield.

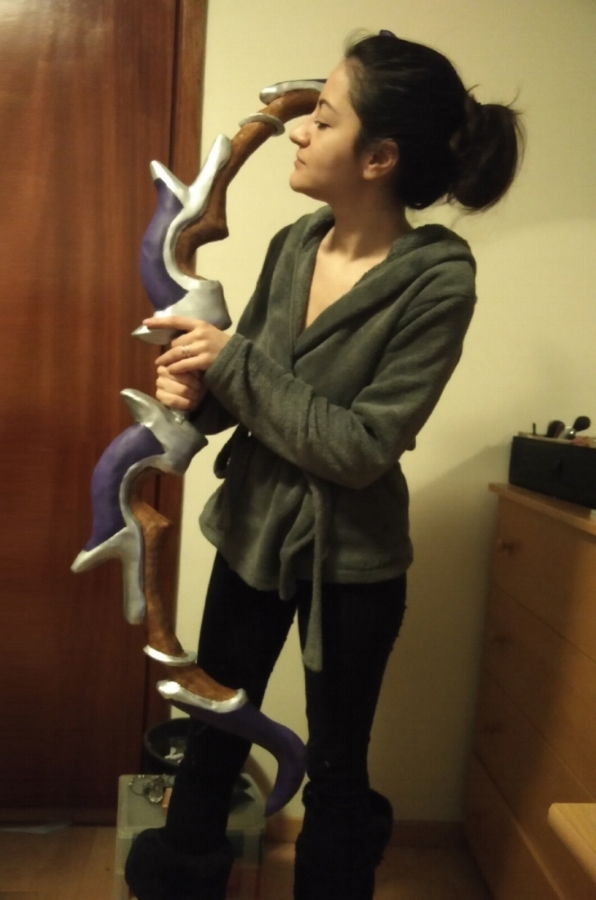
This is me parading around. Just finished painting it (must've been the 2nd attempt for the metallics and the 3rd for the wood texture).
I was just walking around the flat, casually, with a bow...
The final touch, just like with the rest of the armour, was the weathering and the cracks that needed to be painted on.

And here it is, my most favourite prop to this day! I will probably revisit Blizzard characters in the following years. They have the most detailed and beautiful bows I've ever seen.
